A Step-by-Step Guide on How to Clean Your Car Headlights

Headlight cleaning is an essential part of car maintenance that often gets overlooked. Over time, dirt, oxidation, and weather can cloud your headlights, reducing their effectiveness and your visibility on the road. Fortunately, cleaning your car headlights is a simple task you can do at home. This step-by-step guide will help you restore your headlights to their original brightness.
Step 1: Gather Your Supplies
Before diving into the headlight cleaning process, make sure you have all the necessary materials:
- Soft microfiber cloths
- Soap and water
- Masking tape
- Sandpaper (grit: 400, 800, 1000, 2000)
- Headlight restoration kit or toothpaste
- UV sealant or car wax
Step 2: Clean the Surface of Your Headlights
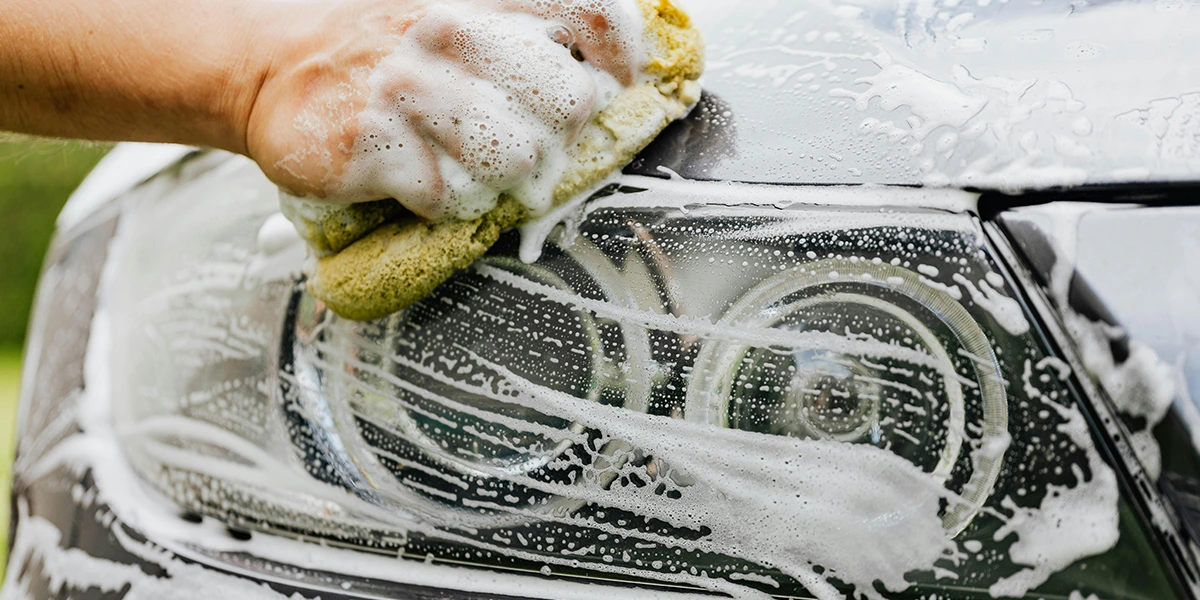
Start by washing your headlights with soap and water. This removes the dirt, grime, and bugs that might be caked on the surface. Use a microfiber cloth to scrub the headlights gently and rinse with clean water.
Tip: Make sure to dry the headlights completely with a dry cloth before moving on to the next step.
Step 3: Tape Off the Headlights
To protect your car’s paint and surrounding areas, use masking tape to outline the edges of your headlights. This will prevent accidental scratches or damage while you're sanding or polishing the headlights.
Step 4: Sand the Headlight Surface
If your headlights are severely oxidized or yellowed, sanding will help smooth out the cloudy surface. Start with the 400-grit sandpaper, dip it in water, and gently sand the headlight in circular motions. Gradually move to higher grits (800, 1000, and 2000), keeping the sandpaper wet to avoid scratches.
Tip: Always sand in one direction with each gritty, then switch directions with the next one.
Step 5: Apply a Cleaning Solution or Toothpaste
Once you’ve sanded the surface, it’s time for a more thorough headlight cleaning. Apply a headlight restoration solution (available in kits) or use regular toothpaste, which contains mild abrasives that can polish and clear the headlights. Use a microfiber cloth to apply the solution in a circular motion, covering the entire surface.

Let it sit for 5-10 minutes before wiping it away with a clean cloth.
Step 6: Rinse and Dry
Rinse off the remaining solution with water and dry the headlights thoroughly with a soft cloth. At this point, your headlights should be noticeably clearer.
Step 7: Apply UV Sealant or Wax
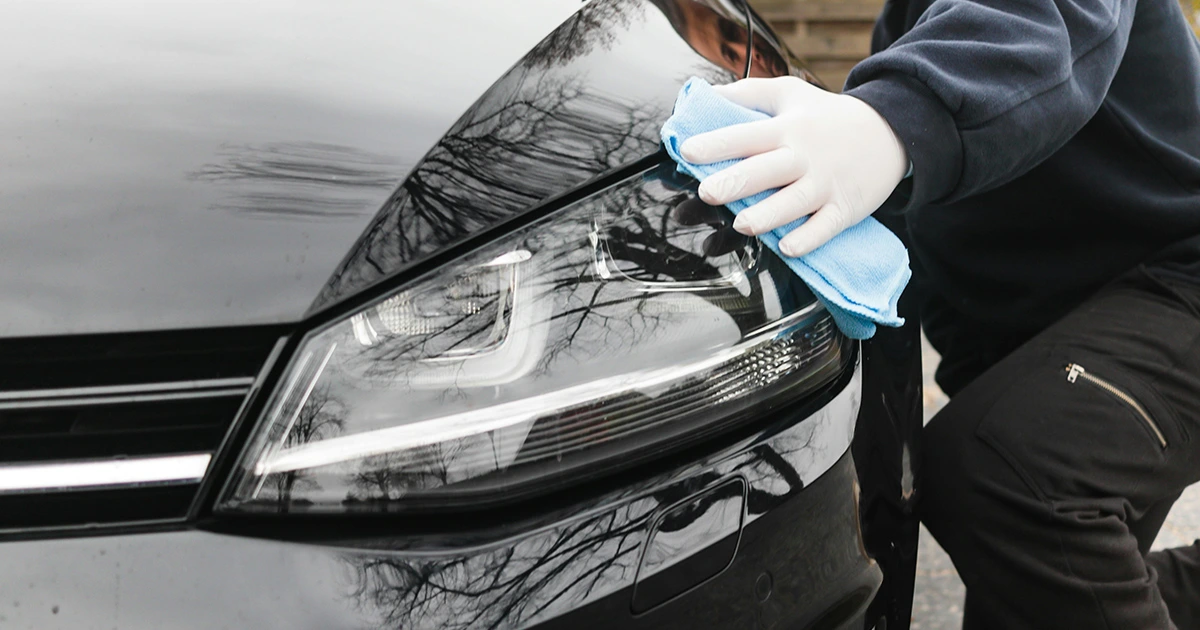
To keep your headlights from getting cloudy again, you’ll need to protect them with a UV sealant or car wax. Apply a thin layer of sealant to the headlights using a clean cloth, and let it dry as instructed. This will shield the headlights from further oxidation and environmental damage.
Step 8: Inspect Your Work
Take a moment to inspect your headlights. They should be clearer, brighter, and ready to improve your nighttime driving visibility.
Why Regular Headlight Cleaning is Important
Cleaning your car headlights improves not only the appearance of your vehicle but also your safety on the road. Cloudy or yellowed headlights can reduce the light output, making it harder to see during low-light conditions. Regular headlight cleaning ensures optimal performance and longevity for your headlights and can even save you from costly replacements.
With just a few simple tools and some time, you can restore your car headlights to like-new condition. By following this headlight cleaning guide, you'll enhance your vehicle's safety and aesthetics, ensuring you have a clear vision every time you hit the road. Happy driving!
